

How to Customize a Figma Template in 15 Minutes
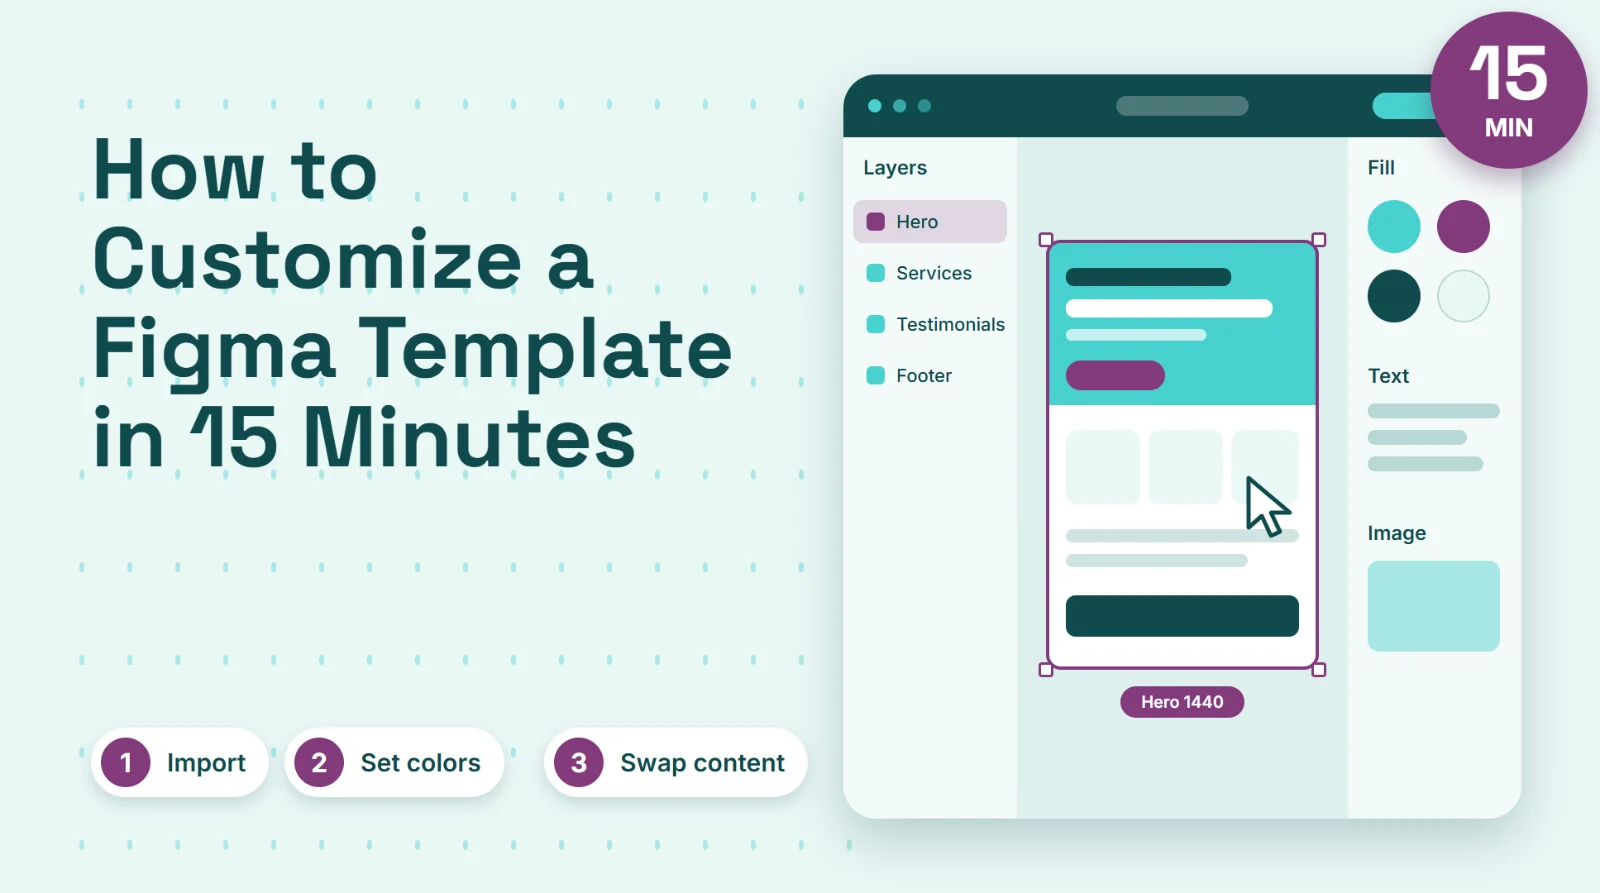
Quick answer: to customize a Figma template, import the .fig file, fix any missing fonts, set your brand colors once, replace the text and images, check the mobile layout, and export. With a well-built template this takes about 15 minutes. Here is the plan, step by step.
Last updated: October 11, 2026
In this guide
- Before you start
- Step 1: Import the file and look around (2 minutes)
- Step 2: Fix fonts (1 minute)
- Step 3: Set your colors (3 minutes)
- Step 4: Replace text (3 minutes)
- Step 5: Swap images (2 minutes)
- Step 6: Adjust sections and check mobile (3 minutes)
- Step 7: Export or share (1 minute)
- FAQ
Before you start
The 15 minutes is a planning guide, not a promise. A simple one-page template with clear layers is quick to edit; a long multi-page design takes longer. Prepare these things first so you do not stop halfway:
- Your brand colors (two or three hex codes)
- Your logo as an SVG or PNG
- The real text for your headline, button and main sections
- A few photos you have the right to use
You also need a Figma account and the .fig file. If you have not imported a .fig file before, read how to open and import a .fig file in Figma first. Want a template to practice on? Browse the free landing page templates.
Step 1: Import the file and look around (2 minutes)
Import the template so you have your own editable copy, then spend a minute understanding it. Open the Layers panel and check the page list: some templates include desktop and mobile versions on separate pages. Click each top-level frame and note the sections, for example hero, services, testimonials and footer. Rename the file so it does not get lost among your drafts.
Step 2: Fix fonts (1 minute)
If Figma shows a missing-fonts message, deal with it now, before you edit text. Google Fonts are available in Figma by default. For other fonts, install them on your computer or replace them with a similar font. Fixing fonts first prevents line breaks from changing later and avoids rework.
Step 3: Set your colors (3 minutes)
Changing colors one layer at a time is slow. Instead, find out how the template handles color:
- If it uses color styles or variables, edit them once and every layer using them updates.
- If it does not, select a layer that uses the main color, then use Figma's select-matching options to pick every layer with the same fill and change them together.
Start with the main brand color, then the accent, then the dark and light neutrals. Check that button text is still easy to read on the new button color.
Step 4: Replace text (3 minutes)
Double-click a text layer to edit it. Work from the top of the page down, and write the real copy rather than "lorem ipsum" so you see the true length. Keep headlines short; templates look balanced because their text lengths are controlled. If your text is much longer, the layout may need adjusting in step 6.
Tip: if a list of repeated items needs one more entry, duplicate an existing item (Ctrl+D or Cmd+D) instead of building a new one, so spacing and styling stay consistent.
Step 5: Swap images (2 minutes)
Select the image layer, open its fill in the right-hand panel and choose your own image. You can also drag an image onto the shape. Use images you have the right to use, and compress large photos before you place them so the file stays light. Replace the logo placeholder with your own logo at the same size.
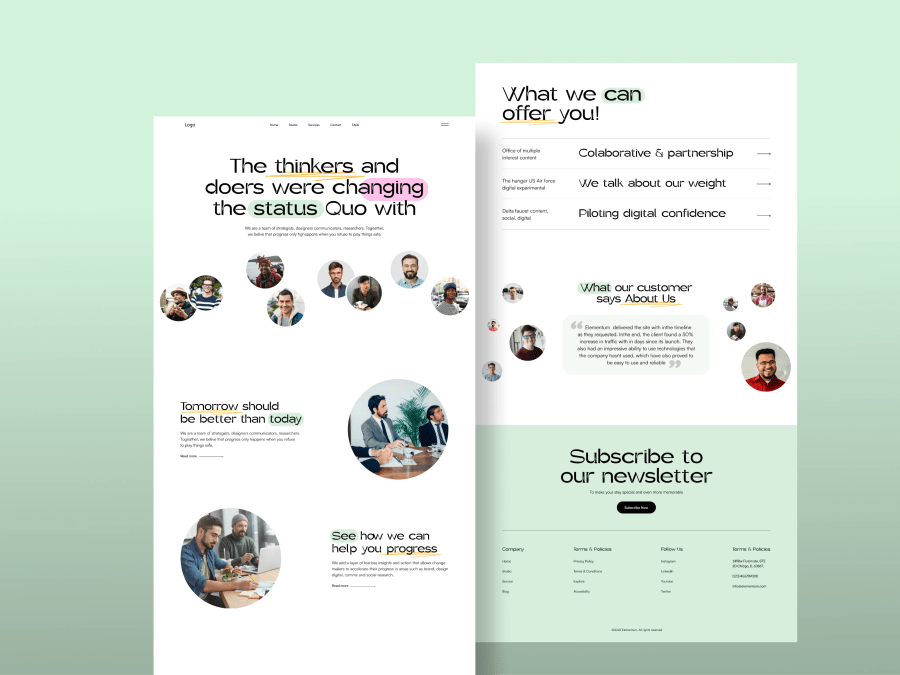
Example: the minimal agency landing page template has clearly separated sections, which makes it quick to customize.
Step 6: Adjust sections and check mobile (3 minutes)
Now look at the whole page. If a section has more or fewer items than you need, remove or duplicate them. Templates built with auto layout (Shift+A adds it) adjust spacing automatically when you add or delete items. Then check the mobile version: if the template has one, edit it the same way; if it does not, duplicate the desktop frame, resize it to a phone width and rearrange the content into one column. Make sure headlines, buttons and forms fit without cutting off.
Step 7: Export or share (1 minute)
When you are happy, select a frame and use the Export section in the right-hand panel to save it as PNG or SVG, or share the Figma file link for review. If a developer will build the page, share the file so they can inspect spacing and colors.
Common mistakes when customizing a template
- Editing before fixing fonts. The layout shifts after you have already written the text.
- Changing colors layer by layer. It takes longer and you will miss some.
- Leaving sample content. Placeholder names, numbers and testimonials look untrustworthy. Replace them with real content or remove them.
- Using photos you may not use. Always check the rights for every image.
- Skipping the mobile check. Many visitors arrive on a phone.
- Ignoring the license. Read how the template may be used. For FigmaTemplify templates, see our Terms of Service.
FAQ
Can I really customize a Figma template in 15 minutes?
For a simple, well-organized template, yes. Larger multi-page templates take longer. Preparing your colors, logo, text and images before you start is what saves the most time.
Do I need to be a designer to edit a template?
No. Basic Figma skills are enough: selecting frames, editing text, changing fills and swapping images.
What is the fastest way to change colors in a Figma template?
Use color styles or variables if the template has them. If not, select a layer, use the option to select all layers with the same fill, and change the color once.
How do I make a template look less generic?
Use your own photos, write specific copy, limit yourself to one main color and one accent, and remove sections you do not need.
Where can I find free Figma templates to customize?
The FigmaTemplify library has free templates with a Figma preview and a .fig download. Start with the best free Figma landing page templates or the hero section examples.
Can you customize a template for me?
Yes. See the design plans for custom UI/UX and landing page work, or send a message through the contact page.